Building your primary school cooking and nutrition curriculum? Looking to teach your first cookery lesson? Thinking how to improve your cooking and nutrition planning?
This is a guide for everyone from NQTs through to Design Technology Leaders. I’m going to be sharing my top tips for planning a quality cooking and nutrition session for EYFS, KS1 and KS2.
Planning a Cookery Lesson
Where should I start?
First things first. Have you got a curriculum plan for Cooking and Nutrition? If not, check out our last blog post to see how you can build one. However, if you don’t have a whole curriculum, this guide is still going to be useful even for the one off lesson.
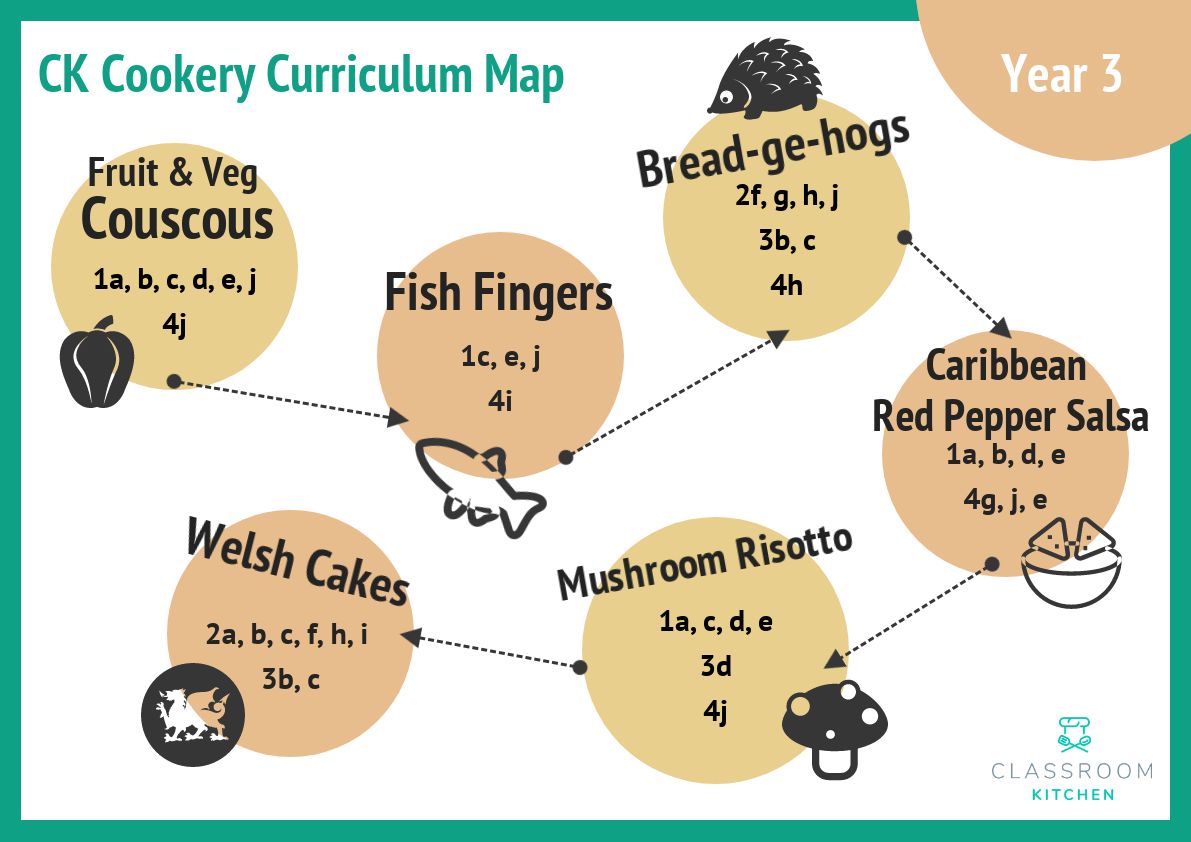
If you do have a planned cooking curriculum, then this is where you’ll start. Take a skill or recipe from your curriculum, check out your year’s objectives – pick a couple and this will be our first ‘ingredients’.
Without a curriculum plan, I presume you may have an idea in mind, a topic of some sort that has drawn you to this guide. If so, you more than likely have an idea of what you want to get out of the session and therefore have your objectives ready. This will help with your cooking and nutrition planning. You can find a general overview of objectives in the National Curriculum.
Choosing a recipe… (if you don’t already have one)
Keep things simple. For a quality cookery lesson, you want to ensure there isn’t too much going on. Your objectives from the start should help with this. Is it a particular skill that you want your pupils to use? Cutting (claw and bridge)? Presenting a dish? Maybe you have a nutrition objective in mind, such as to learn where ingredients come from?
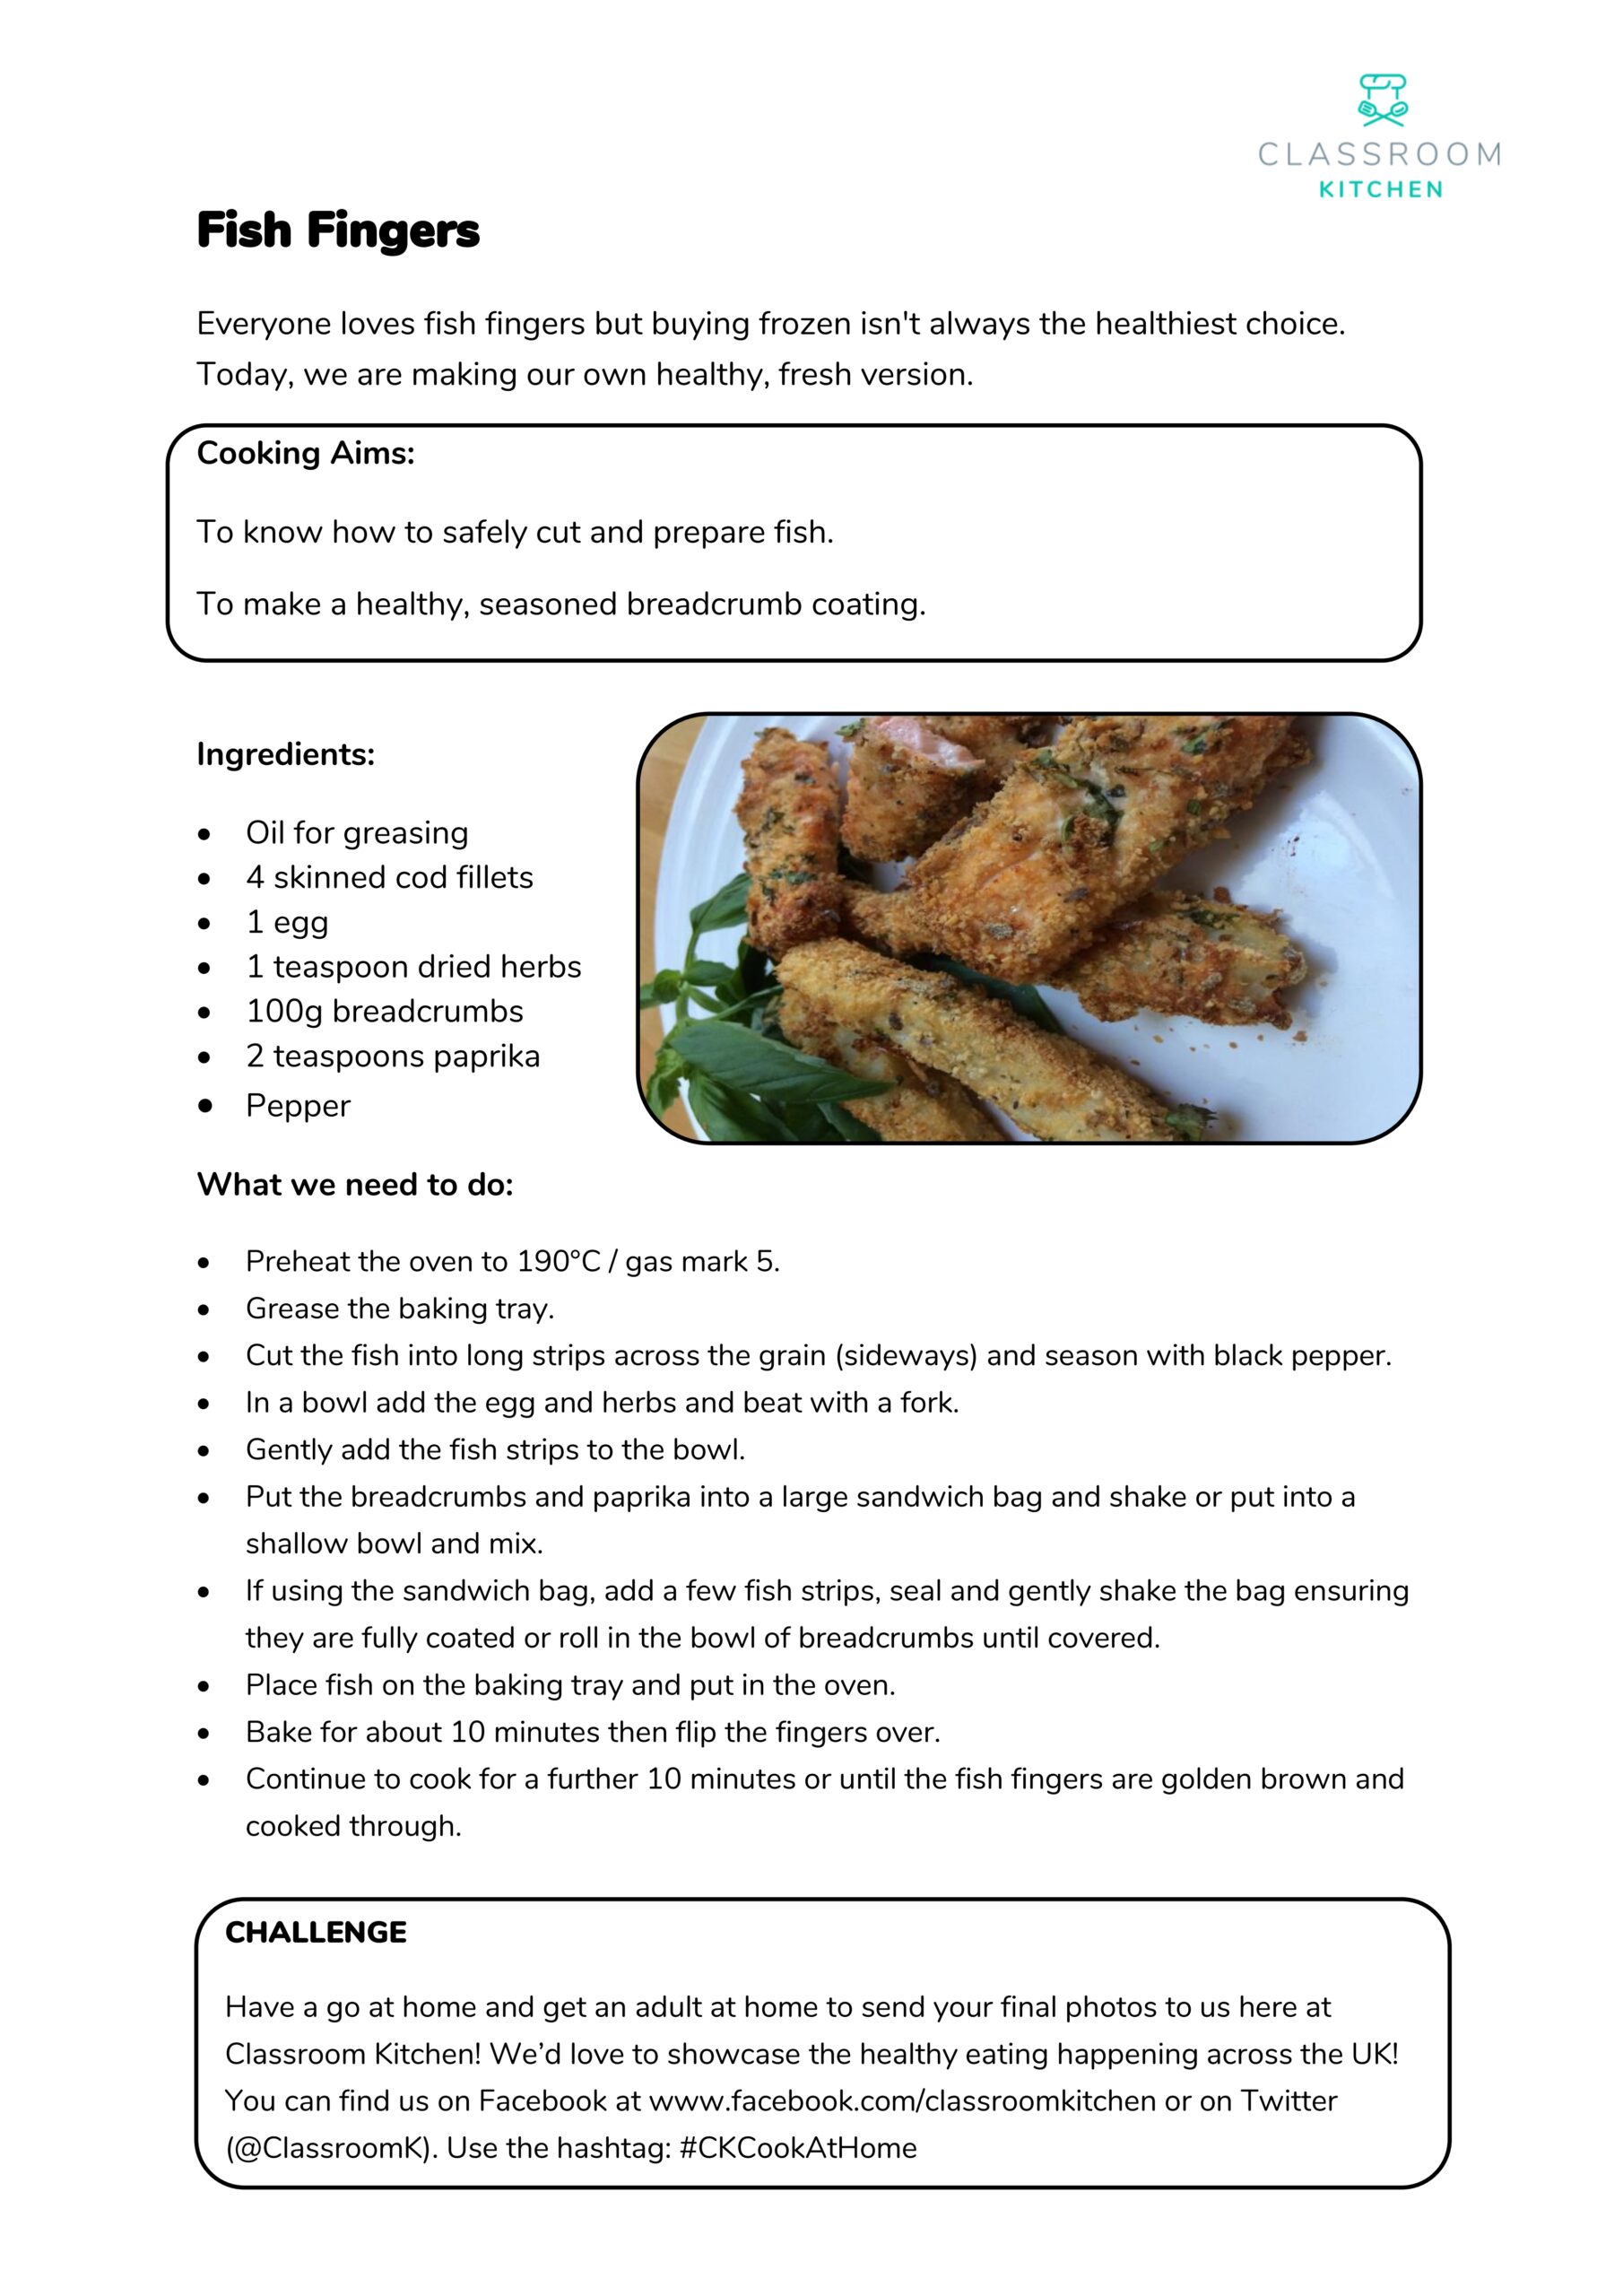
Considering your objective, will help you decide the dish type. If it’s cutting, you want to choose a dish with lots of knife preparation, something repetitive such as a Fruit Salad. With the focus being presentation, possibly a salad but most definitely a recipe where it could be garnished or arranged in different ways. Thinking about the nutrition objective, think a range of ingredients with a common link, fruits and vegetables, fish, meat and dairy and just focus on one. For the example above, it could be you choose Fish Cakes to teach about the Fishing Process.
Regardless of the outcome, the recipe needs to be simple. Choose an everyday recipe that pupils will find useful in later life.
However, what if you’re teaching a specific topic like ‘The Victorians‘. Obviously, in this case, you’re going to choose a recipe from that era. It probably won’t be an everyday recipe but I would still recommend choosing a simple one or simplifying another by removing any difficult ingredients or skills.
KS1 vs KS2 – Cookery Planning
At this stage, we’ve chosen some objectives and we’ve chosen a recipe, what about age group?
The only thing we need to double check at this stage is ability. Your objectives will more than likely be suitable anyway but is your recipe? I would simply suggest, consider how many steps there are and how much equipment you’d need. KS1 realistically don’t want to be prepping anymore than 4 ingredients and don’t want to be using anymore than one or two tools to do so. With this in mind, your recipe may need simplifying or changing.
We’ll consider KS1 and KS2 further in the article.
Structuring your Cooking and Nutrition Planning
Planning format…
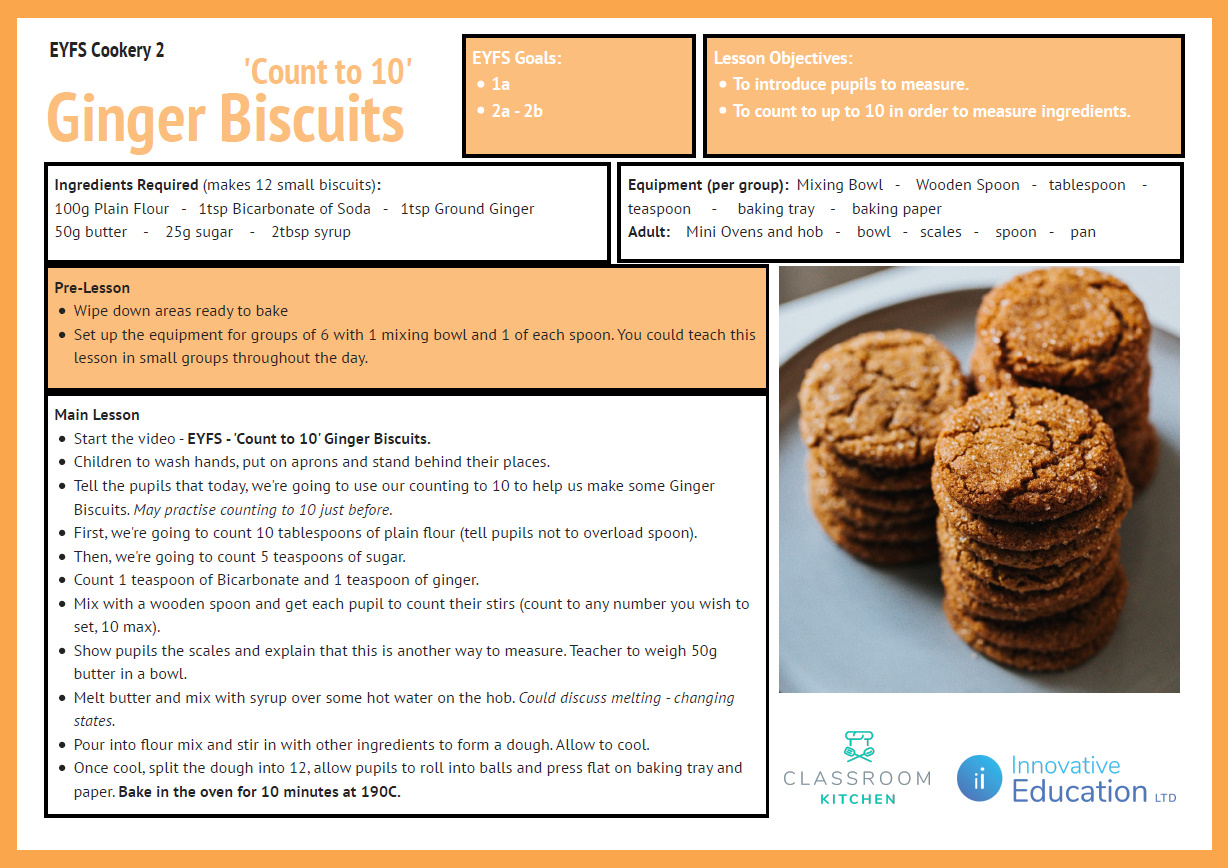
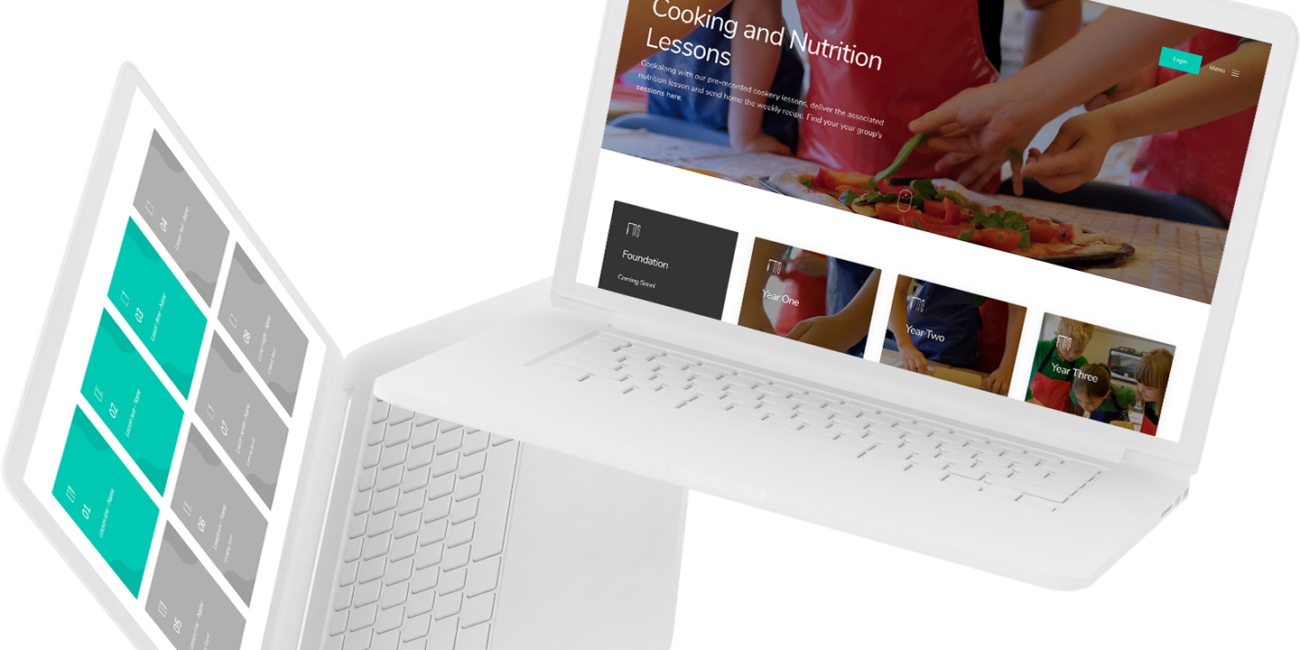
If you’ve got a school planning format, this will be great. I’d presume it’d have an objectives section, lesson title and lesson stages in it. This is a perfect starting point. I would also add an equipment section (resources) to your planning format if it doesn’t already have one. You can see an example of our cooking and nutrition lesson plans in the image here:

3 Stages of a cookery session…
Like a traditional lesson plan, I’d be thinking Starter, Main and Plenary but I’d simply change the names:
- Facts and Information
- Cook
- Taste and Evaluate
And a fourth one of ‘Cleaning Up’ should be added to – Yes, you can get the pupils doing this! Result!
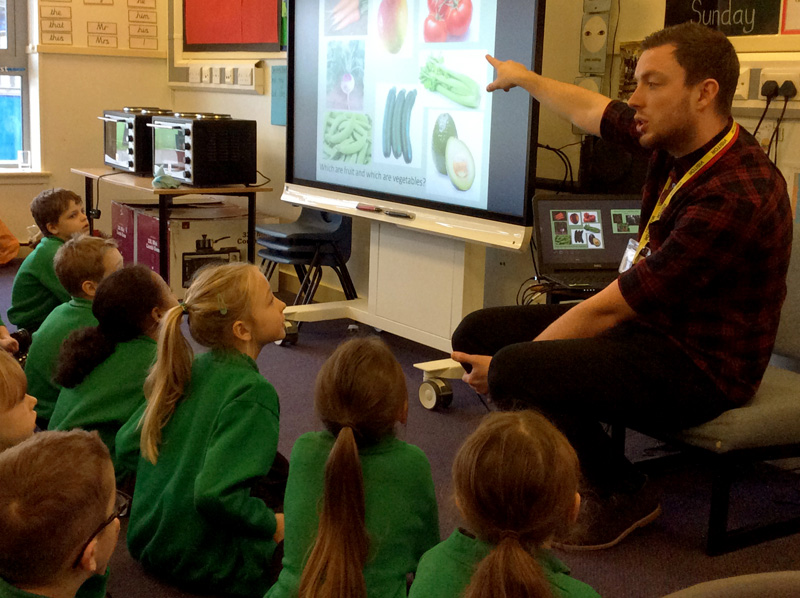
Facts and Information
Here we discuss the ‘Nutrition’ behind the recipe we’re going to make. It’s good to explore the ingredients and discuss where they originate from before being found on the shelves of your local supermarket. This is also the stage where we need to lay down important information. Discuss hygiene, safety around the equipment and your behaviour expectations. Plan these in prior to the lesson.
Cook
I’m sure this is the obvious one. This is the main section of your cookery plan, the longest element. Here you want to break down your chosen recipe’s steps into stages and instructions. What skills need to be taught? Which skills do we need to demonstrate to remind pupils to use? Break the instructions down by each ingredient that will need to be prepared.
Carefully consider the order that ingredients need to be cooked to. My advice would be to prepare as much as possible before anything goes on the hob or in the oven but if rice or pasta etc is being used, maybe you schedule in when to add these to the pan.
For this section, think mainly about what the pupils will be doing but add in instructions for teachers too (boiling the kettle, turning on the oven etc). Leave as much of the physical cooking element to last as this can be happening whilst pupils have a go at Evaluating.
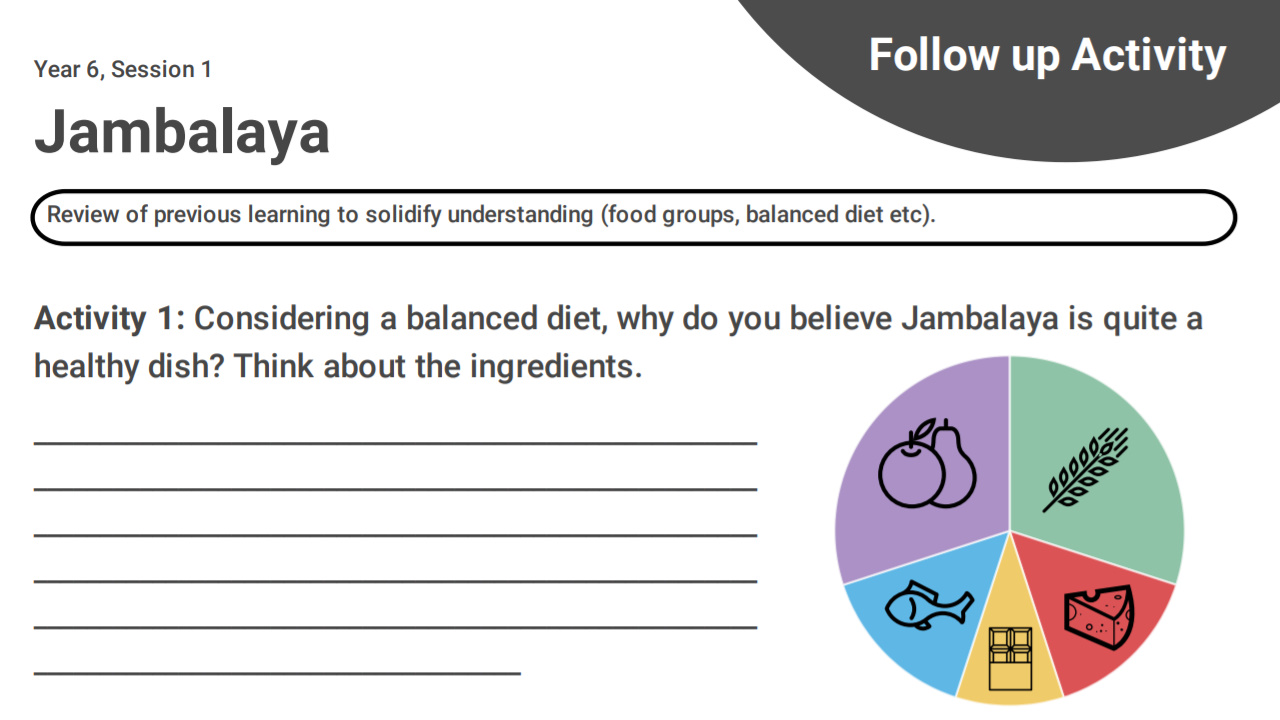
Taste and Evaluate
If cooking is still underway, it’s a great idea to get pupils completing any ‘follow-up’ activities or an evaluation. You may add some questions about the nutritional element. If it’s a themed lesson, maybe some research into the topic could be required. Whatever the activity, give the teacher time to focus on the cooking of the food.
It may be that the dish is cold or quick to cook. If so, pupils will be ready to jump straight in for a Taste Test.
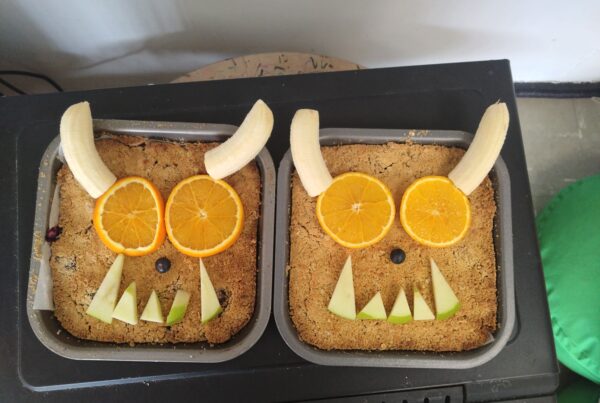
It’s important to get pupils considering multiple elements, such as the appearance, taste and texture. Use this taste test to write up a quick evaluation or discuss as a class. This can be one of the most valuable elements of the session. It’s great to get pupils trying new foods and discussing their thoughts, likes and dislikes.
Planning to lead a Cookery Class
Leading a cooking session can be quite nerve-wracking for someone who’s never done so before. It may even be that you’ve had a bad experience in the past and you’re therefore worrying about your next. If you’ve got a way that works, then I’d skip this section completely…don’t change what isn’t broken.
Setting up the classroom…
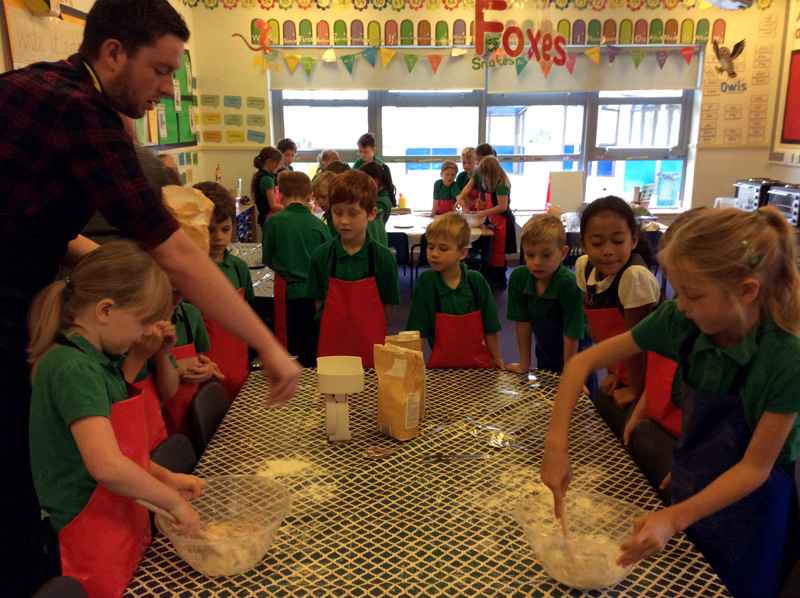
Advanced set up – first step to success. Don’t wait for the pupils to enter the classroom on this one. On your plan, you’ve hopefully decided what equipment you’ll need from the recipe you’ve chosen, get these out in advance.
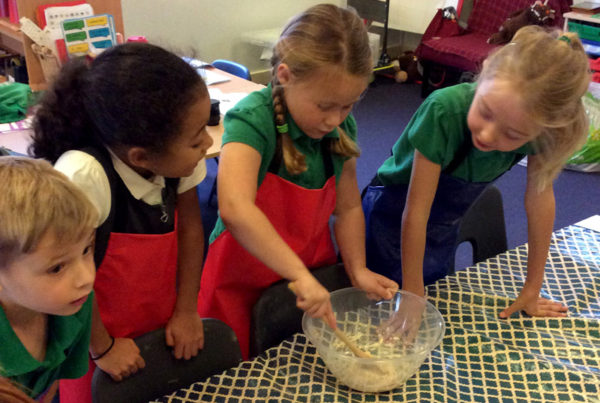
Set up the tables in groups for about 5 to 6 pupils. If you’ve got enough equipment, you could do smaller but that will mean you’ve got more groups to watch at one time.
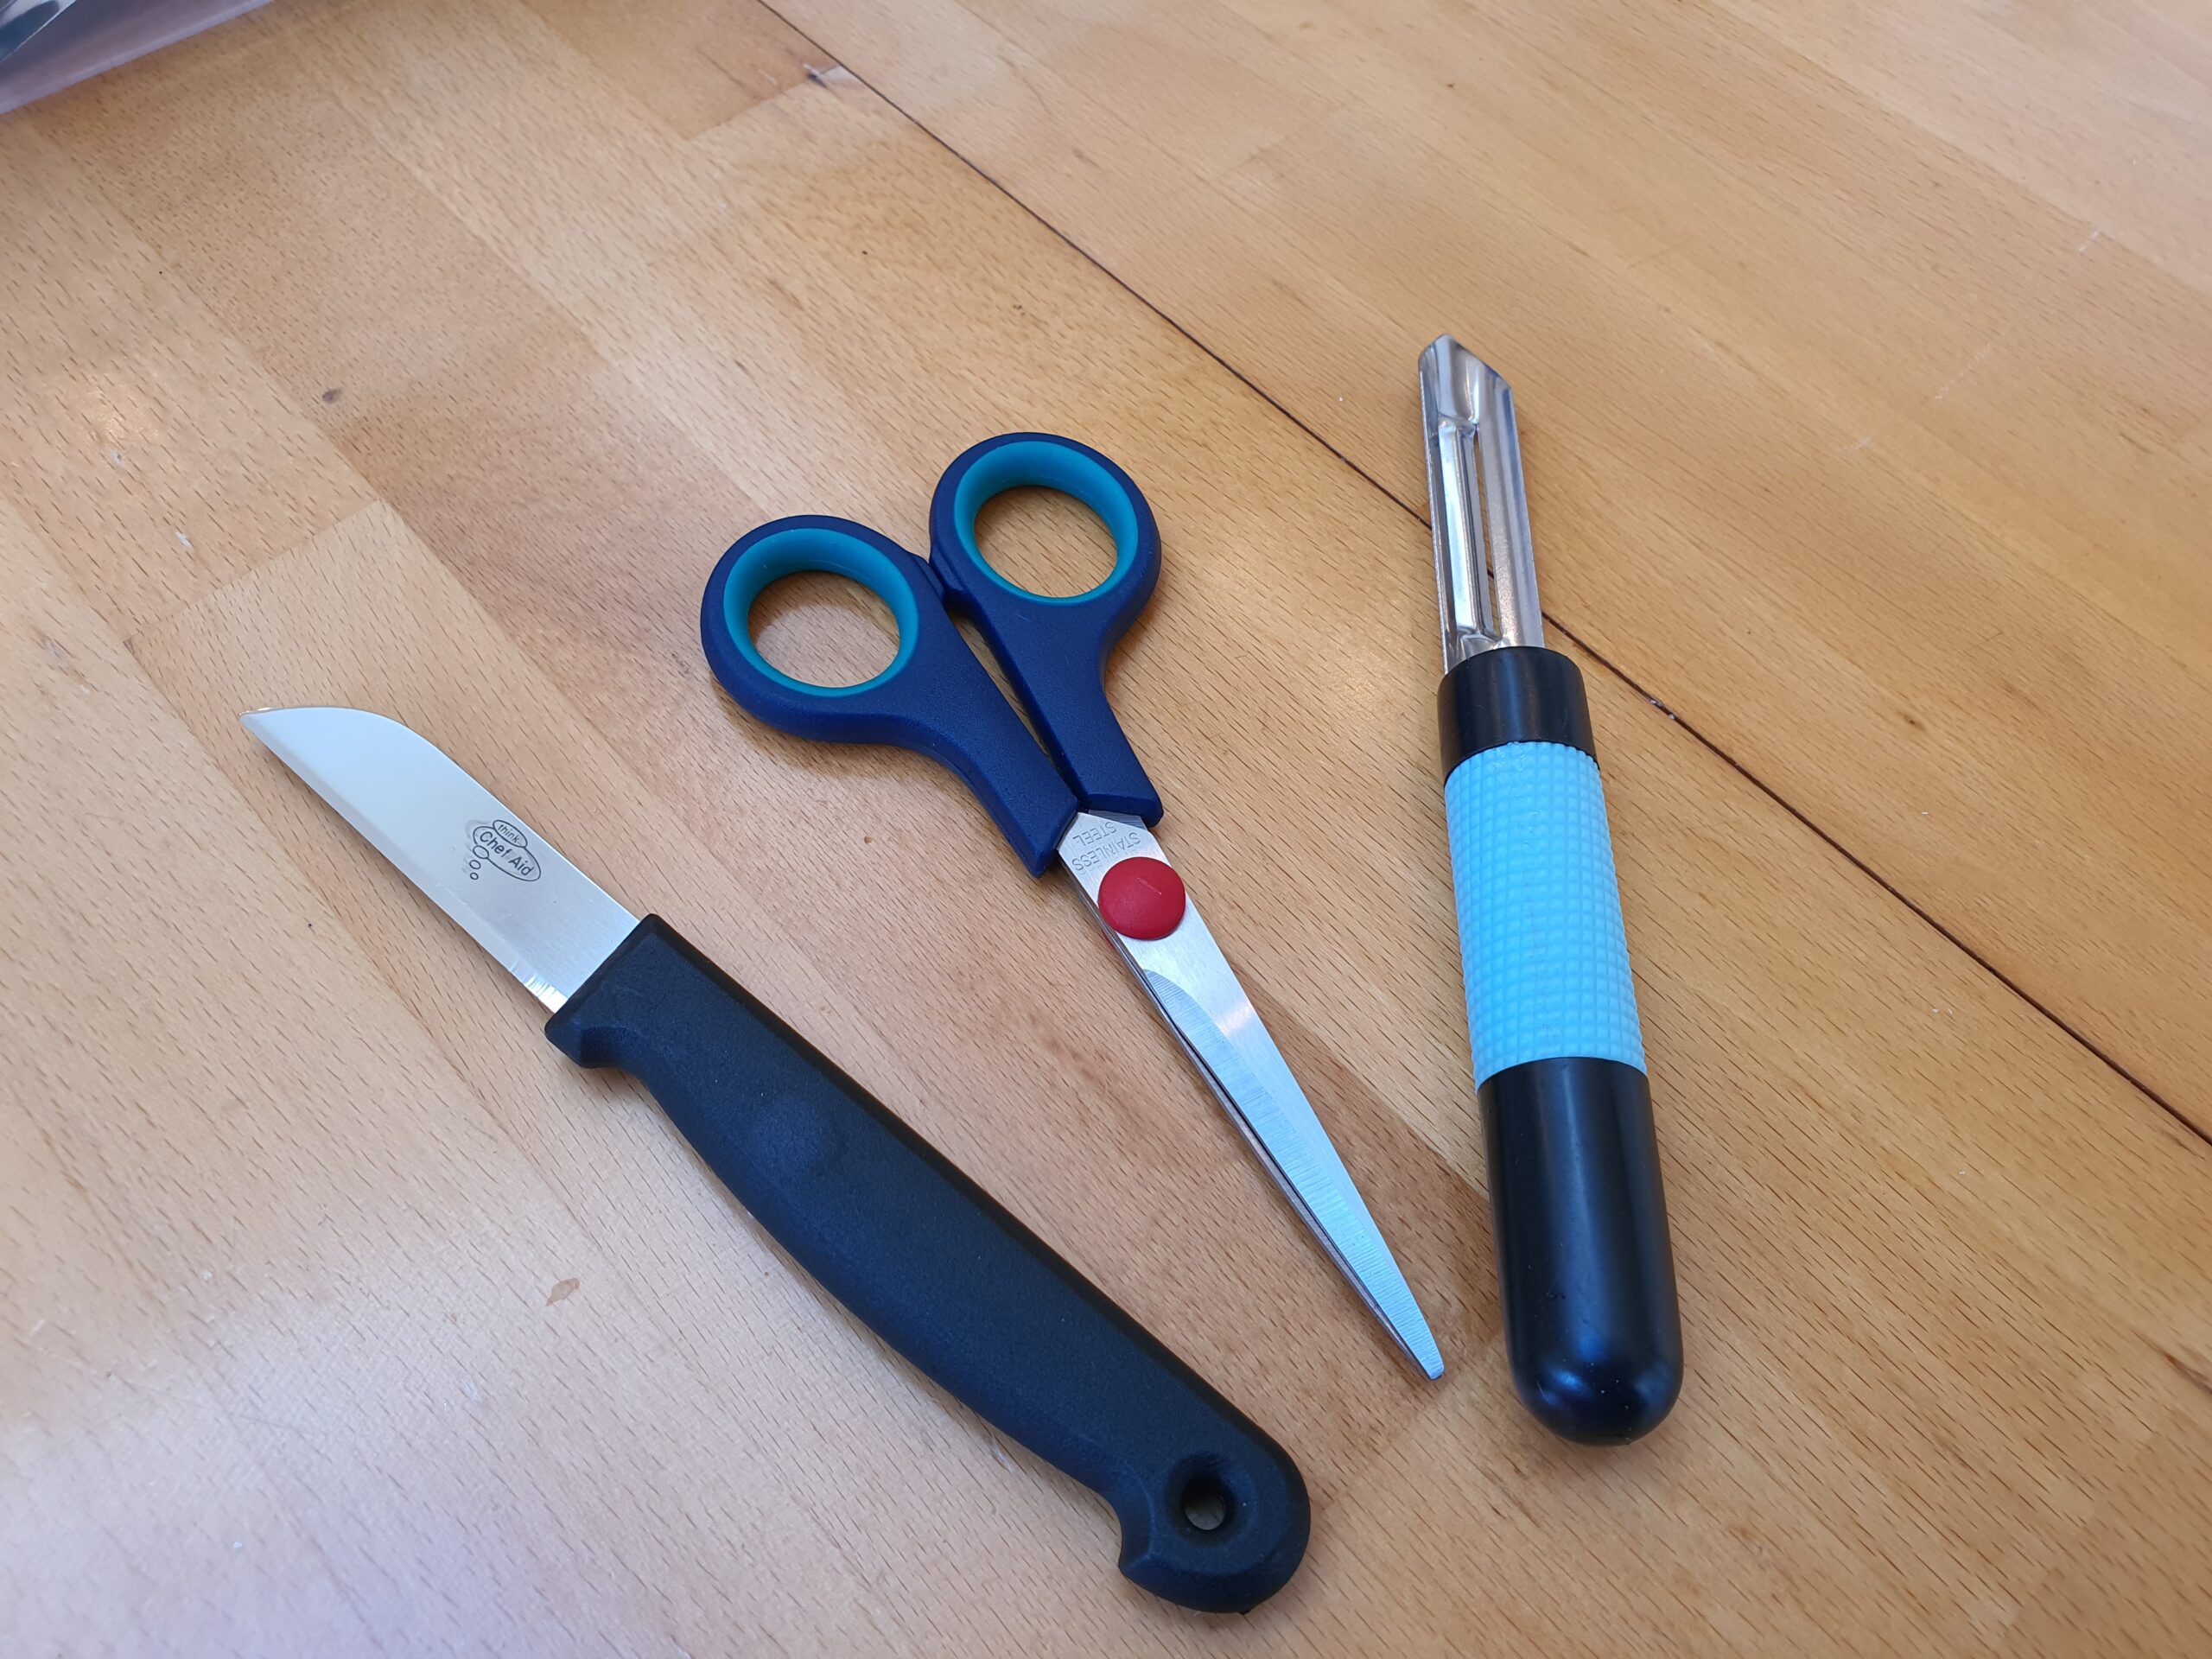
Get the equipment out onto the tables but save any dangerous bits to show in your Facts and Information section. That’s when you can explain any dangers regarding these.
If you’re using any electricals, set these up away from the pupils and not near any fire exits. Section these off to show it’s a teacher only zone.
Running your cookery lesson…
In the next blog post, we’ll be delving into ‘Behaviour Management in a Cookery Lesson’. Here, I just want to get you thinking about the actual management of the lesson.
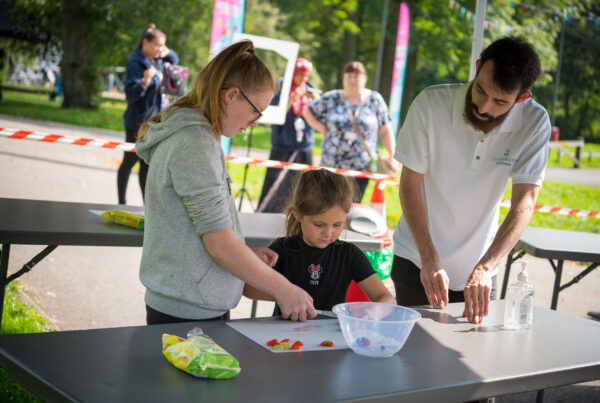
Small steps and one instruction at a time is key. Take things slow. Don’t have too much going on at once either. Make sure only one person at a time works on each table and the team members take it in turns. Considering this, be as precise as possible with your instructions. For example, how many pieces should they cut before they swap?
Get pupils washing ingredients, hands and practising hygiene throughout.
Just remember, cookery could be a whole new lesson with whole new learning behaviours. Don’t panic if they’re excited and noisy in the first session but stop and start where necessary. Remind pupils of your expectations and as I said…one instruction at a time.
KS1 Cookery Plans vs KS2 Cookery Plans
There really isn’t much to change! As long as the objectives and recipes have been chosen to suit the ability, a session can be planned and led exactly the same.
It may be with your youngest pupils that you choose to start off teaching groups of 6-10 at a time should you wish to get them used to cooking in general. It’s a good way to work more 1-1 with pupils and access their ability and knowledge around food.
With equipment, look to use safe tools such as dinner knives with Year 1 and 2 and sharp knives with KS2. Avoid peelers and graters with the youngest until they’re better with their motor skills.
How we can help with your Cooking and Nutrition Planning and Curriculum
This isn’t a blog for selling but with this particular article it would be daft not to mention what we have to offer.
Check out Classroom Kitchen Online (link) – our whole school cooking and nutrition curriculum for primary schools.
I’ll say no more than that.
The guy behind the rambling…
For anyone who doesn’t know me or hasn’t met me before, I’m James Deveney, owner of Classroom Kitchen and former Primary Teacher.
Contact:
Email: james@classroom-kitchen.co.uk
Twitter: /educooking_MrD